Changing fryer oil is one of the most important—but often underestimated—tasks in a restaurant kitchen. It's not just about pouring out old oil and adding new. It's about safety, cleanliness, food quality, and equipment longevity. Doing it right keeps your food golden and crisp. Doing it wrong can cause flavor issues, safety hazards, or even equipment damage.
This guide walks you through a safe and efficient fryer oil change, covering tools, step-by-step instructions, disposal practices, and tips to make the process smoother and smarter. Whether you're a line cook or a kitchen manager, this is a process every team member should master.
1. When to Change Fryer Oil: A Quick Refresher
Before jumping into the how, it’s important to know the when. Fryer oil has a limited lifespan, and pushing it too far can affect everything from food taste to customer health. While every kitchen has its own rhythm, there are universal signs that oil needs to go.
Watch for these indicators:
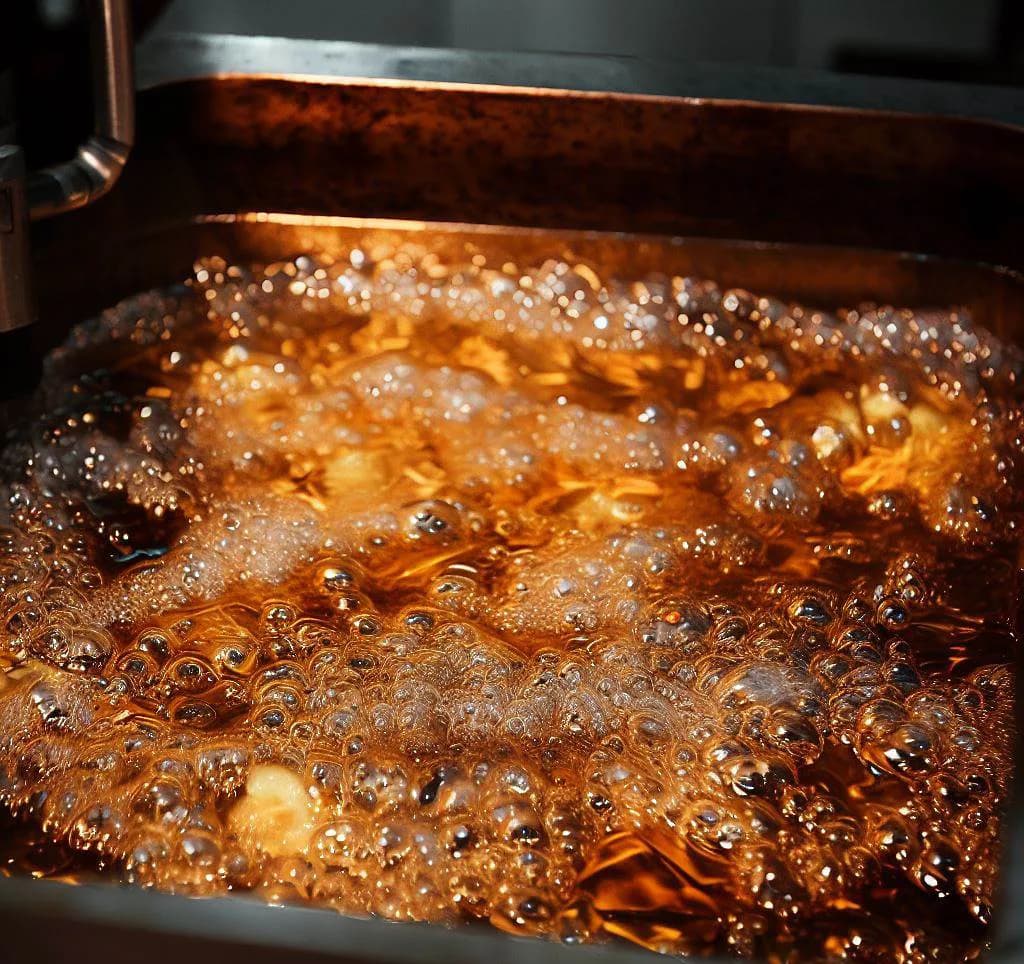
- Dark, thick, or foamy oil that no longer flows easily
- Burnt smell or visible smoke at normal temperatures
- Greasy, unevenly cooked, or overly dark food
- Longer cooking times than usual
- Oil that bubbles excessively when food is dropped in
These signs don’t just affect flavor—they can trigger safety violations or fire risks. It's better to change the oil a bit early than too late.
📌 Trust your senses. If the oil smells or looks off, it probably is.
2. Tools & Safety Gear You’ll Need
Proper prep makes the entire oil-changing process smoother, faster, and safer. Without the right tools, you're more likely to spill oil, burn yourself, or waste time improvising under pressure.
Here’s what you should have ready before starting:
- ✅ Heat-resistant gloves – To protect hands from hot oil and metal surfaces.
- ✅ Oil caddy, container, or transfer pump – For collecting the used oil safely.
- ✅ Fryer filter or mesh strainer – To capture debris if you're filtering.
- ✅ Degreaser and scrubbing brush – For cleaning the fry pot after draining.
- ✅ Funnel or pitcher – Helps control oil flow during refill.
- ✅ Towels, rags, and floor mats – To manage any spills or splashes.
Having this gear on hand reduces cleanup time, lowers the risk of accidents, and ensures your team isn’t rushing around with hot equipment.
📌 Preparation is key—never start changing fryer oil without the right safety gear in place.
3. How to Change Fryer Oil: Step-by-Step Process
Changing fryer oil involves more than opening the drain valve. It's a process that needs structure, focus, and attention to detail. Here’s how to get it right every time:
🔹 Step 1: Let the Fryer Cool Down
Turn off the fryer and let the oil cool to a safe temperature—ideally between 120°F and 150°F (50–65°C). Oil that’s too hot is dangerous to drain and can damage containers. Be patient—cooling takes time, but it reduces the risk of burns or spills.
📌 Use this downtime to prep your cleaning tools and organize your station.
🔹 Step 2: Drain the Oil Carefully
Once cooled, use the drain valve or pump to transfer oil into your disposal container or filter tank. Open the valve slowly, and never leave oil draining unattended.
- Use containers with tight-fitting lids.
- Avoid splashing—position containers properly and stay alert.
- Wear gloves at all times during this step.
Draining oil seems simple, but it's one of the most dangerous moments. Spills, burns, and floor hazards are common if teams rush through it.
📌 Take your time. Most fryer-related accidents happen during draining.
🔹 Step 3: Filter or Dispose of the Oil
If your oil is still usable (light color, no smell, no smoke), you can filter and reuse it. Otherwise, it’s time to dispose of it properly. Never pour oil down the drain—it's illegal, damaging to plumbing, and environmentally harmful.
Here’s what to do instead:
- Store used oil in a sealed UCO (Used Cooking Oil) container.
- Label the container with date and location.
- Keep it in a designated storage space for pickup.
💡 With Boh, you don’t need to manage disposal vendors—we buy back your used oil and handle all the logistics. It’s a smart, sustainable way to turn waste into revenue.
📌 Proper disposal is good for your kitchen, your community, and your bottom line.
🔹 Step 4: Clean the Fry Pot Thoroughly
Draining the oil isn’t enough. Residual food debris and sticky grease line the fry pot—and over time, they carbonize and damage your equipment. After draining:
- Scrape the pot with a fryer spatula to loosen residue.
- Use a degreaser and hot water to break down stubborn grime.
- Rinse and dry completely before adding fresh oil.
Don’t forget to wipe down areas around the pot, including the lid, handles, and control panel. A clean fryer maintains oil quality longer and ensures more consistent results.
📌 This step adds a few minutes—but extends fryer life by months.
🔹 Step 5: Refill the Fryer with Fresh Oil
Once clean and dry, refill your fryer carefully. Use a funnel or pitcher to avoid spills, and never overfill.
- Check fill lines or user manual for proper oil level.
- Heat the oil gradually to prevent scorching.
- Note the refill date in your maintenance log.
If you're managing multiple sites or high-volume kitchens, consider rotating your oil stock using first-in, first-out inventory practices.
📌 Starting fresh gives your fryer a clean slate—don’t cut corners on the refill.
4. What to Do With Used Fryer Oil (UCO)
Used cooking oil is valuable—but only if it’s collected and handled properly. It can be recycled into biodiesel, soaps, animal feed, and more.
Why proper UCO management matters:
- Avoids costly fines and plumbing damage
- Supports sustainable kitchen practices
- Generates extra income if sold to approved partners
✅ How Boh Helps:
- We collect and buy back used oil from restaurants.
- We ensure storage meets compliance.
- We reduce your admin workload by handling pickups and documentation.
Even better? It’s seamless—once set up, your team doesn’t need to do anything beyond storing the container.
📌 From waste to win: smart UCO management benefits your business and the planet.
5. Tips to Maximize the Life of New Oil
Fresh oil is expensive—so treat it like a premium ingredient. Daily habits can dramatically improve its lifespan and cooking performance.
Best practices include:
- ✅ Filter the oil at least once per day
- ✅ Skim food debris throughout service
- ✅ Avoid overheating (keep temps between 325°F–350°F)
- ✅ Use a fryer cover when not in use
- ✅ Train staff on what not to fry (wet batter, high-salt foods, frozen food without thawing)
📌 Longer oil life = better margins + better meals.
Conclusion
Changing fryer oil isn’t just routine—it’s a vital part of keeping your kitchen safe, your food consistently delicious, and your equipment running at full efficiency. A sloppy oil change leads to greasy dishes, frustrated staff, and costly repairs. But when done right, it becomes a small, powerful habit that pays off every single service.
By following a clear, safe, and repeatable process—from proper draining to fryer pot cleaning and smart oil disposal—you extend the life of your oil, protect your team from accidents, and deliver the crispy perfection your customers expect. It’s about working smarter, not harder.
And the best part? You don’t have to handle it all alone.
💡 Boh makes fryer maintenance easier at every step. We take care of oil disposal by buying back your used fryer oil, help streamline your cleaning routines, and coordinate professional maintenance when needed. No chasing vendors, no missed pickups, no last-minute headaches—just clean, efficient systems that work.
📌 Need to simplify fryer oil management once and for all? Boh helps restaurants stay clean, safe, and in control—without the mess.
Frequently Asked Questions (FAQ)
🔹 Can you reuse fryer oil in a restaurant?
Yes, you can reuse fryer oil—if it’s filtered regularly and still in good condition. Most commercial kitchens filter their oil daily to remove food particles and slow down degradation. However, once the oil turns dark, smells burnt, or produces smoke at normal temps, it’s time to change it.
💡 Filtering extends oil life, but it’s not a replacement for a full change.
🔹 How often should commercial fryer oil be changed?
It depends on what and how much you’re frying. On average:
- Every 3–6 uses for high-volume or battered foods (like fried chicken or fish)
- Every 8–10 uses for lighter applications (like fries or donuts)
Regular filtering and oil testing can help you make the call more precisely. See our full guide: How Often Should You Change Fryer Oil in a Restaurant
🔹 What’s the safest way to dispose of used fryer oil?
Never pour oil down the drain. It clogs plumbing and violates health codes. The safest way is to:
- Store it in a UCO (Used Cooking Oil) container
- Label and seal the container
- Arrange for collection by a certified oil recycler
💡 Boh buys back your used fryer oil and handles all the logistics—saving you time and turning waste into revenue.
🔹 What happens if you don’t change fryer oil often enough?
Old oil leads to:
- Poor food quality (greasy, dark, inconsistent)
- Increased smoke and fire risk
- Strain on fryer components (burners, thermostats)
- Higher energy consumption
- Possible health code violations
📌 It’s not just a quality issue—it’s a safety and cost issue too.
🔹 Is there a difference between filtering and changing oil?
Yes. Filtering removes food debris and extends the oil's lifespan. Changing the oil means completely draining and replacing it with fresh oil. You should do both:
- Filter daily
- Change entirely when the oil shows signs of degradation
💡 Think of filtering as maintenance, and changing as a full reset.
Frequently asked questions
How often should you change fryer oil in a restaurant?
The frequency depends on your kitchen's usage, but you should change oil when it becomes dark and thick, smells burnt, produces excessive smoke, or causes food to cook unevenly or darker than normal. It's better to change oil slightly early than to wait too long, as old oil affects food quality and can create safety hazards.
What temperature should fryer oil be before changing it?
Cool the oil to between 120°F and 150°F (50–65°C) before draining. Oil that's too hot is dangerous to handle and can damage containers, so always be patient and allow adequate cooling time before starting the oil change process.
What safety gear do you need to change restaurant fryer oil?
Essential safety gear includes heat-resistant gloves, an oil caddy or transfer pump, a fryer filter or mesh strainer, degreaser and scrubbing brush, a funnel or pitcher, and towels or floor mats for spill management. Having the right tools ready before starting reduces accident risk and makes the process faster and smoother.
How do you know when fryer oil has gone bad?
Signs of bad oil include dark, thick, or foamy appearance, burnt smell or visible smoke at normal temperatures, greasy or unevenly cooked food, longer cooking times than usual, and excessive bubbling when food is added. Trust your senses—if the oil looks or smells off, it's time to change it.
Ready when you are
Running into issues with your kitchen
Our team coordinates vetted technicians across Southern California, same day for emergencies.